

# WireGuard VPN 實戰教學:5 步幫你 10 分鐘內起好極速安全 VPN
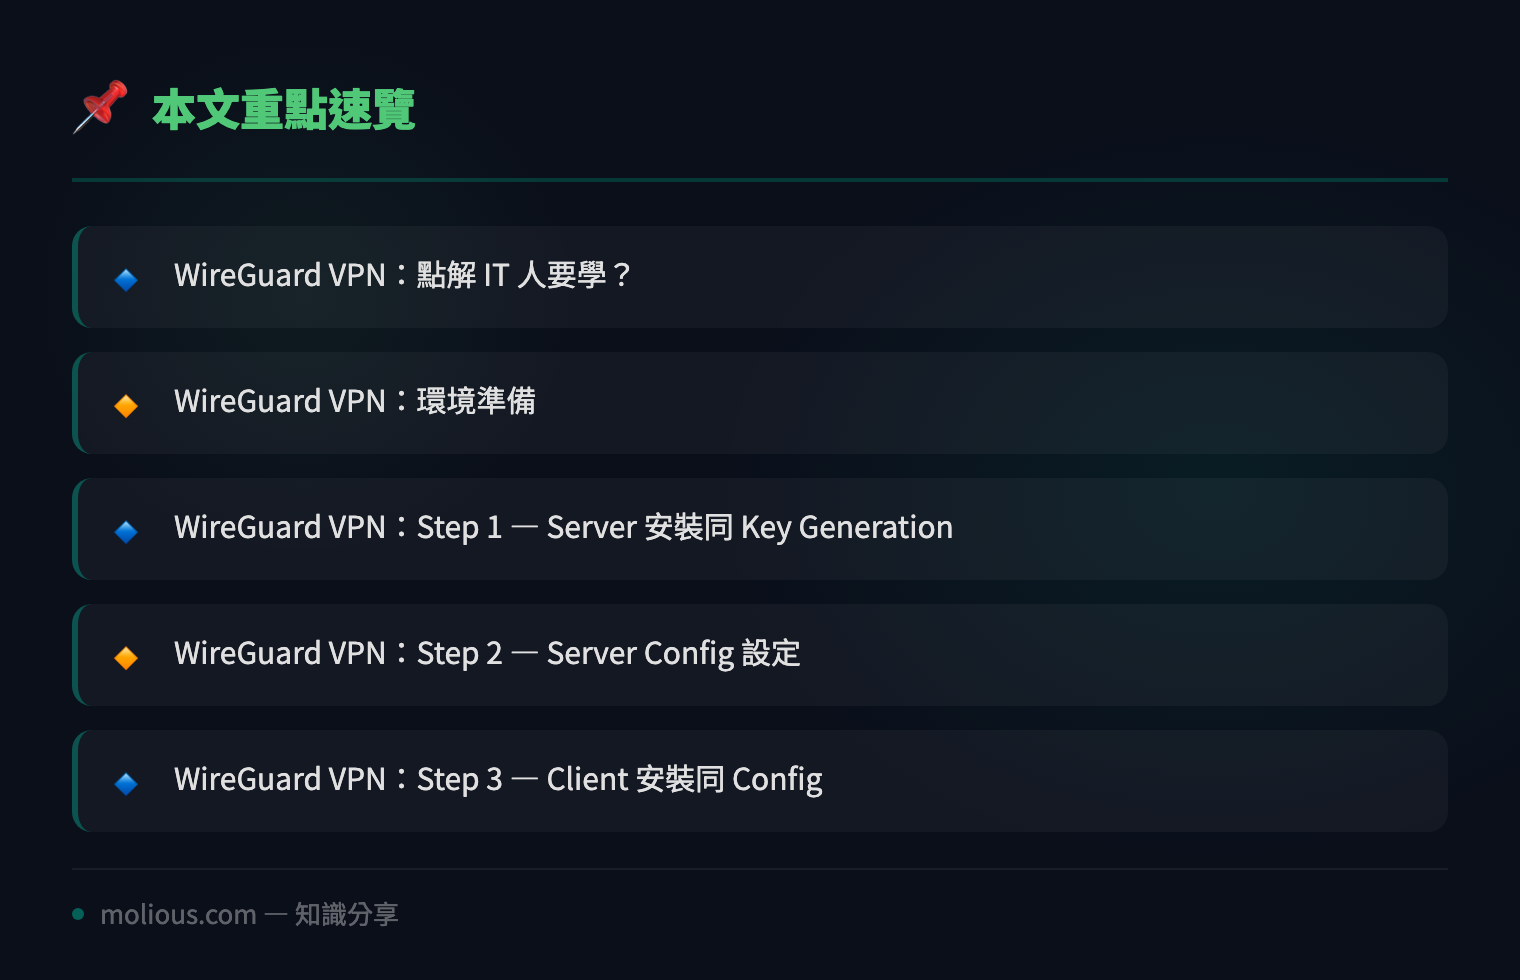
## WireGuard VPN:點解 IT 人要學?
如果你仲用緊 OpenVPN 或者 IPSec,係時候 upgrade 啦。WireGuard 係 Linux 之父 Linus Torvalds 都讚不絕口嘅新一代 VPN 協議,佢嘅 kernel-level 實作令到速度比 OpenVPN 快 3-5 倍,程式碼只得 4000 行(OpenVPN 超過 10 萬行),安全性審計容易到爆。
WireGuard 嘅設計哲學係「簡單就是美」— 冇複雜嘅 cipher negotiation、冇 certificate management、純用 Curve25519 做 key exchange,ChaCha20 做 encryption。設定檔短到可以貼喺 WhatsApp 俾同事。
今日我會帶你 step-by-step 喺 Ubuntu Server 上面起一個 WireGuard VPN server,駁埋 Windows/macOS client,全程唔使 10 分鐘。
## WireGuard VPN:環境準備
你需要:
– 一部 Ubuntu 22.04/24.04 server(有 public IP)
– 一部 client 機(Windows/macOS/Linux 都得)
– sudo 權限
我假設你 server public IP 係 `203.0.113.10`,client 係你部 laptop。
## WireGuard VPN:Step 1 — Server 安裝同 Key Generation
首先 SSH 入去 server,裝 WireGuard:
sudo apt update && sudo apt install wireguard -yWireGuard 冇內置 key generation command,要用 `wg` 工具手動 gen key pair:
# Generate server private key
wg genkey | sudo tee /etc/wireguard/server_private.key
sudo chmod 600 /etc/wireguard/server_private.key

# Generate server public key from private key
sudo cat /etc/wireguard/server_private.key | wg pubkey | sudo tee /etc/wireguard/server_public.key
記低 server public key,之後 client config 要用。
## WireGuard VPN:Step 2 — Server Config 設定
建立 `/etc/wireguard/wg0.conf`:
sudo nano /etc/wireguard/wg0.conf貼入以下 config(將 `
[Interface]
Address = 10.0.0.1/24
ListenPort = 51820
PrivateKey = <SERVER_PRIVATE_KEY>

# Enable IP forwarding for client internet access
PostUp = iptables -A FORWARD -i wg0 -j ACCEPT; iptables -t nat -A POSTROUTING -o eth0 -j MASQUERADE
PostDown = iptables -D FORWARD -i wg0 -j ACCEPT; iptables -t nat -D POSTROUTING -o eth0 -j MASQUERADE

# Client 1 - Terry's Laptop
[Peer]
PublicKey = <CLIENT_PUBLIC_KEY>
AllowedIPs = 10.0.0.2/32
重點解釋:
– `Address = 10.0.0.1/24` — server 喺 VPN 內部網絡嘅 IP
– `PostUp/PostDown` — 自動設定 NAT,等 client 可以經 server 出 internet
– `AllowedIPs = 10.0.0.2/32` — 只允許呢個 client IP,每個 peer 要 unique
Enable IP forwarding:
sudo sysctl -w net.ipv4.ip_forward=1
echo "net.ipv4.ip_forward=1" | sudo tee -a /etc/sysctl.conf
## WireGuard VPN:Step 3 — Client 安裝同 Config
### Windows Client
去 https://www.wireguard.com/install/ download Windows installer,裝完開 WireGuard GUI。
Click “Add Tunnel” → “Add empty tunnel”,gen 咗 client key pair 自動填入。然後貼入呢個 config:
[Interface]
PrivateKey = <CLIENT_PRIVATE_KEY>
Address = 10.0.0.2/32
DNS = 1.1.1.1

[Peer]
PublicKey = <SERVER_PUBLIC_KEY>
Endpoint = 203.0.113.10:51820
AllowedIPs = 0.0.0.0/0
PersistentKeepalive = 25
⚠️ `AllowedIPs = 0.0.0.0/0` 代表所有 traffic 都經 VPN(full tunnel)。如果你只想公司內部 traffic 經 VPN(split tunnel),改做 `AllowedIPs = 10.0.0.0/24, 192.168.1.0/24`。
### macOS Client
Mac App Store 有官方 WireGuard app,config 格式同 Windows 一樣。
### Linux Client
sudo apt install wireguard -y
sudo nano /etc/wireguard/wg0.conf
# 貼入同上嘅 client config
sudo wg-quick up wg0
## WireGuard VPN:Step 4 — 啟動同測試
Server side:
sudo wg-quick up wg0
sudo systemctl enable wg-quick@wg0
Check status:
sudo wg show應該見到:
interface: wg0
  public key: <SERVER_PUBLIC_KEY>
  private key: (hidden)
  listening port: 51820

peer: <CLIENT_PUBLIC_KEY>
  endpoint: <client_ip>:51820
  allowed ips: 10.0.0.2/32
  latest handshake: 15 seconds ago
  transfer: 1.23 MiB received, 4.56 MiB sent
見到 “latest handshake” 就代表成功連接!
Client side 測試:
ping 10.0.0.1
curl ifconfig.me  # 應該 show server public IP
## WireGuard VPN:Step 5 — 加多個 Client(同事/手機)
WireGuard 嘅 scaling 好簡單 — 每個新 client 只需要:
1. Client side gen key pair
2. Server config 加一個新 `[Peer]` block:
# Client 2 - Colleague's Phone
[Peer]
PublicKey = <PHONE_PUBLIC_KEY>
AllowedIPs = 10.0.0.3/32
3. Reload config(唔使斷現有 connection!):
sudo wg addconf wg0 <(wg-quick strip wg0)呢個係 WireGuard 最勁嘅功能之一 — 加減 peer 唔使 restart,現有 connection 完全唔受影響。
## WireGuard VPN:進階 Tips
### Tip 1: 用 QR Code 俾手機 client
手機 WireGuard app 支援 QR code import:
sudo apt install qrencode -y
qrencode -t ansiutf8 < /etc/wireguard/client1.conf
手機一 scan 就自動 import config,唔使打字。
### Tip 2: UFW Firewall 設定
如果你用 UFW:
sudo ufw allow 51820/udp
sudo ufw allow out on wg0 from any to any
### Tip 3: Kill Switch(防 VPN 斷線洩漏 IP)
Windows client config 加:
[Interface]
...(原有 config)
Table = off
配合 `Block untunneled traffic (kill-switch)` checkbox 喺 Windows GUI。
Linux 用 `iptables`:
PostUp = iptables -I OUTPUT ! -o wg0 -m mark ! --mark $(wg show wg0 fwmark) -m addrtype ! --dst-type LOCAL -j REJECT## WireGuard VPN:總結
WireGuard 嘅優勢真係壓倒性:
– ⚡ 速度:kernel-level,比 OpenVPN 快 3-5x
– 🔒 安全:4000 行程式碼,audit-friendly
– 🪶 輕量:config 短到可以 WhatsApp send
– 🔄 靈活:加減 peer 唔使 restart
– 📱 跨平台:Windows/macOS/Linux/iOS/Android 全部有原生 client
如果你公司仲用緊舊式 VPN,係時候 migrate 去 WireGuard。10 分鐘起好、速度飛快、安全性一流 — 冇理由唔轉。
—
#WireGuard #VPN教學 #網絡安全 #Linux #IT基礎設施